Modelling an Italian village in N scale from scratch - part 2
2024/02/04
My second ever scratchbuild. I’m trying to avoid making the mistakes of the first one, so I’m making lots of new ones to learn from! :)

This time, I’m working from the inside out. First I created a solid skeleton of 2mm card. That was hard to cut! 2 x 1mm would’ve been easier, well at least it was rock solid. This building consists of three houses attached to each other, on a slope. The bakery is one floor higher than the tabacchi, which is on the lower town square.

Like in the previous build, I’m dry brushing onto the sticky label which has only b/w lines. Some of those printed lines can actually stay visible.
I learned from last time that it’s not needed to cut out windows if they’ll have a closed blind on top of them. That saved a lot of unnecessary cutting! Looking at the real world, there are always many blinds closed at any time of day.

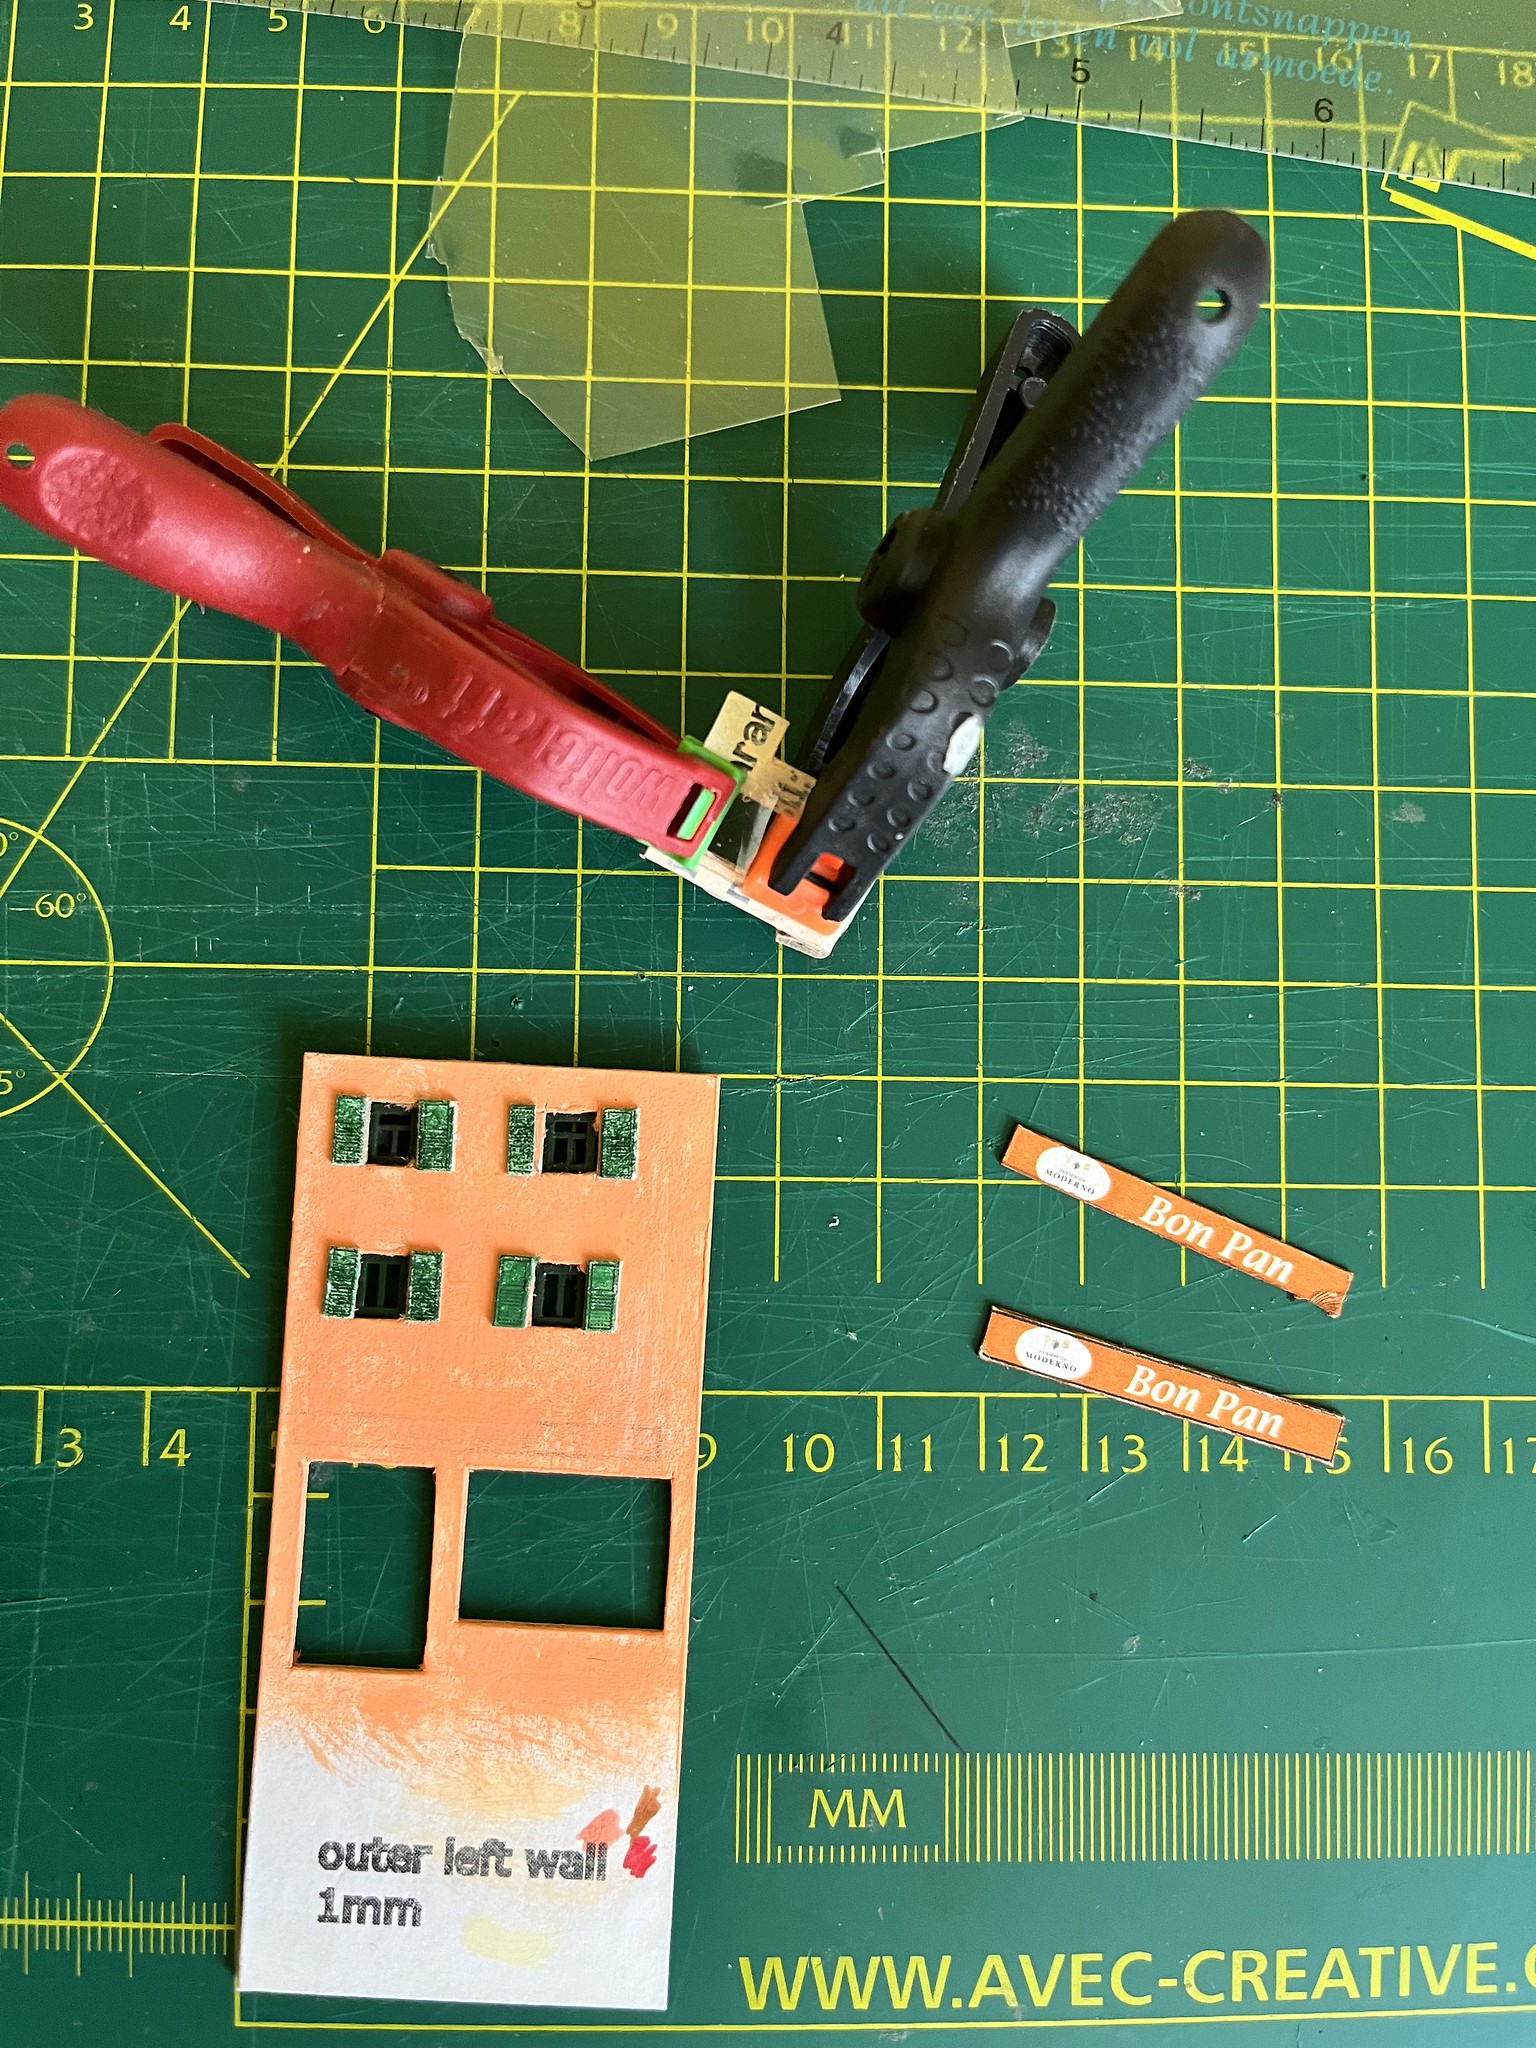
For windows and doors I used an Auhagen set. A thin coat of paint to get the plasticcy look off. Worked well, though the details are a bit too coarse. But I’m not yet ready to try out the Chandwell sticky label method :)
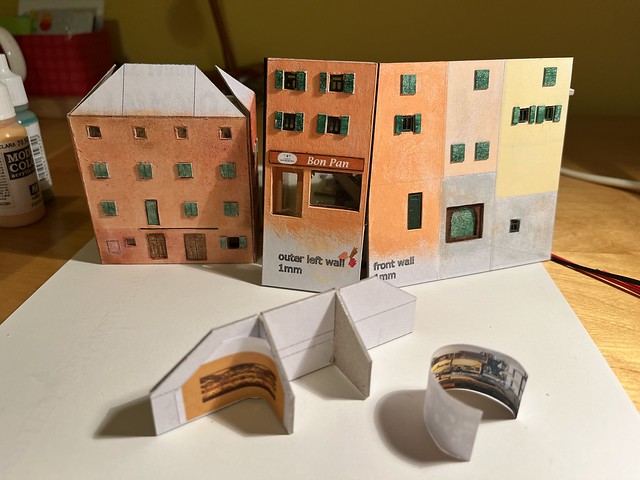
Similar enough in style and colour. And then I got the brilliant idea that a recessed door for the bakery would be nice. What a mess that was, I couldn’t get it to work properly. In hindsight here I should have used styrene, thin strips of carton bend too easily. Va beh.
A Tabacchi of course needs that typical T-sign. I was dreading to glue it straight to the wall so instead I cut a 1mm opening in the wall and slid the T-shaped (oh my! I’m only realizing this as I’m writing it down. Sweet) sign into it - perfectly straight and no glue marks!


I forgot to make a photo of the construction of the storefronts - I used two layers, 1mm outside and 0.5mm inside to create extra depth. The inner layer sticks out 1mm and that part was blackened with a marker; and voila, instant drainpipe. Inspired by Chandwell (who got it from somewhere else).
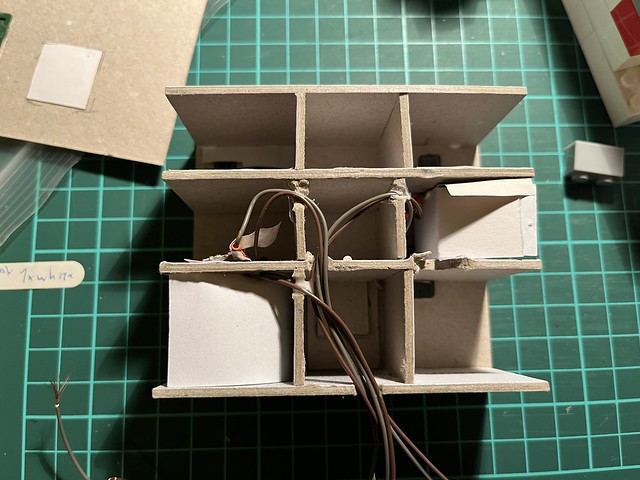
For the lighting, it would’ve been easier to use a common kathode. However, I was thinking of using an arduine for effects and in principle I want to keep those circuits separate. Which meant that I had to cut into that rock-solid heavy skeleton to create space for the full bundle of cables. That would’ve been easier if I’d created those before putting it together!

And with three light chambers in place and averything glued shut… I noticed than the bakery gable had curved ever so slightly and light shines through. Damn. I’ll have to solve that with some greenery or something…
For the roof, that lovely redutex again. This time on a separate carton underpiece, coloured so that if some cracks appear they won’t disturb as much:


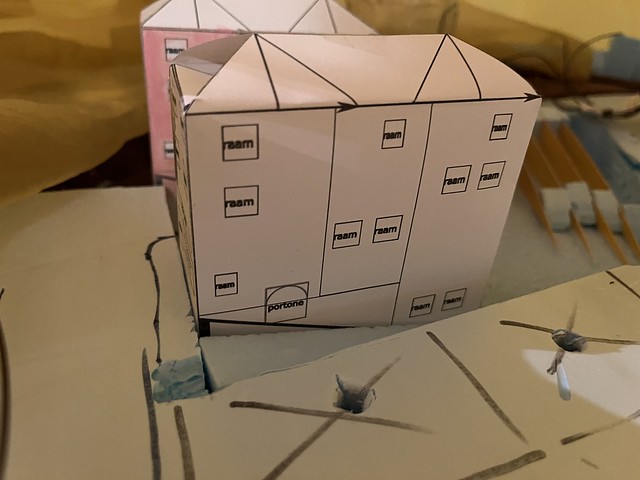
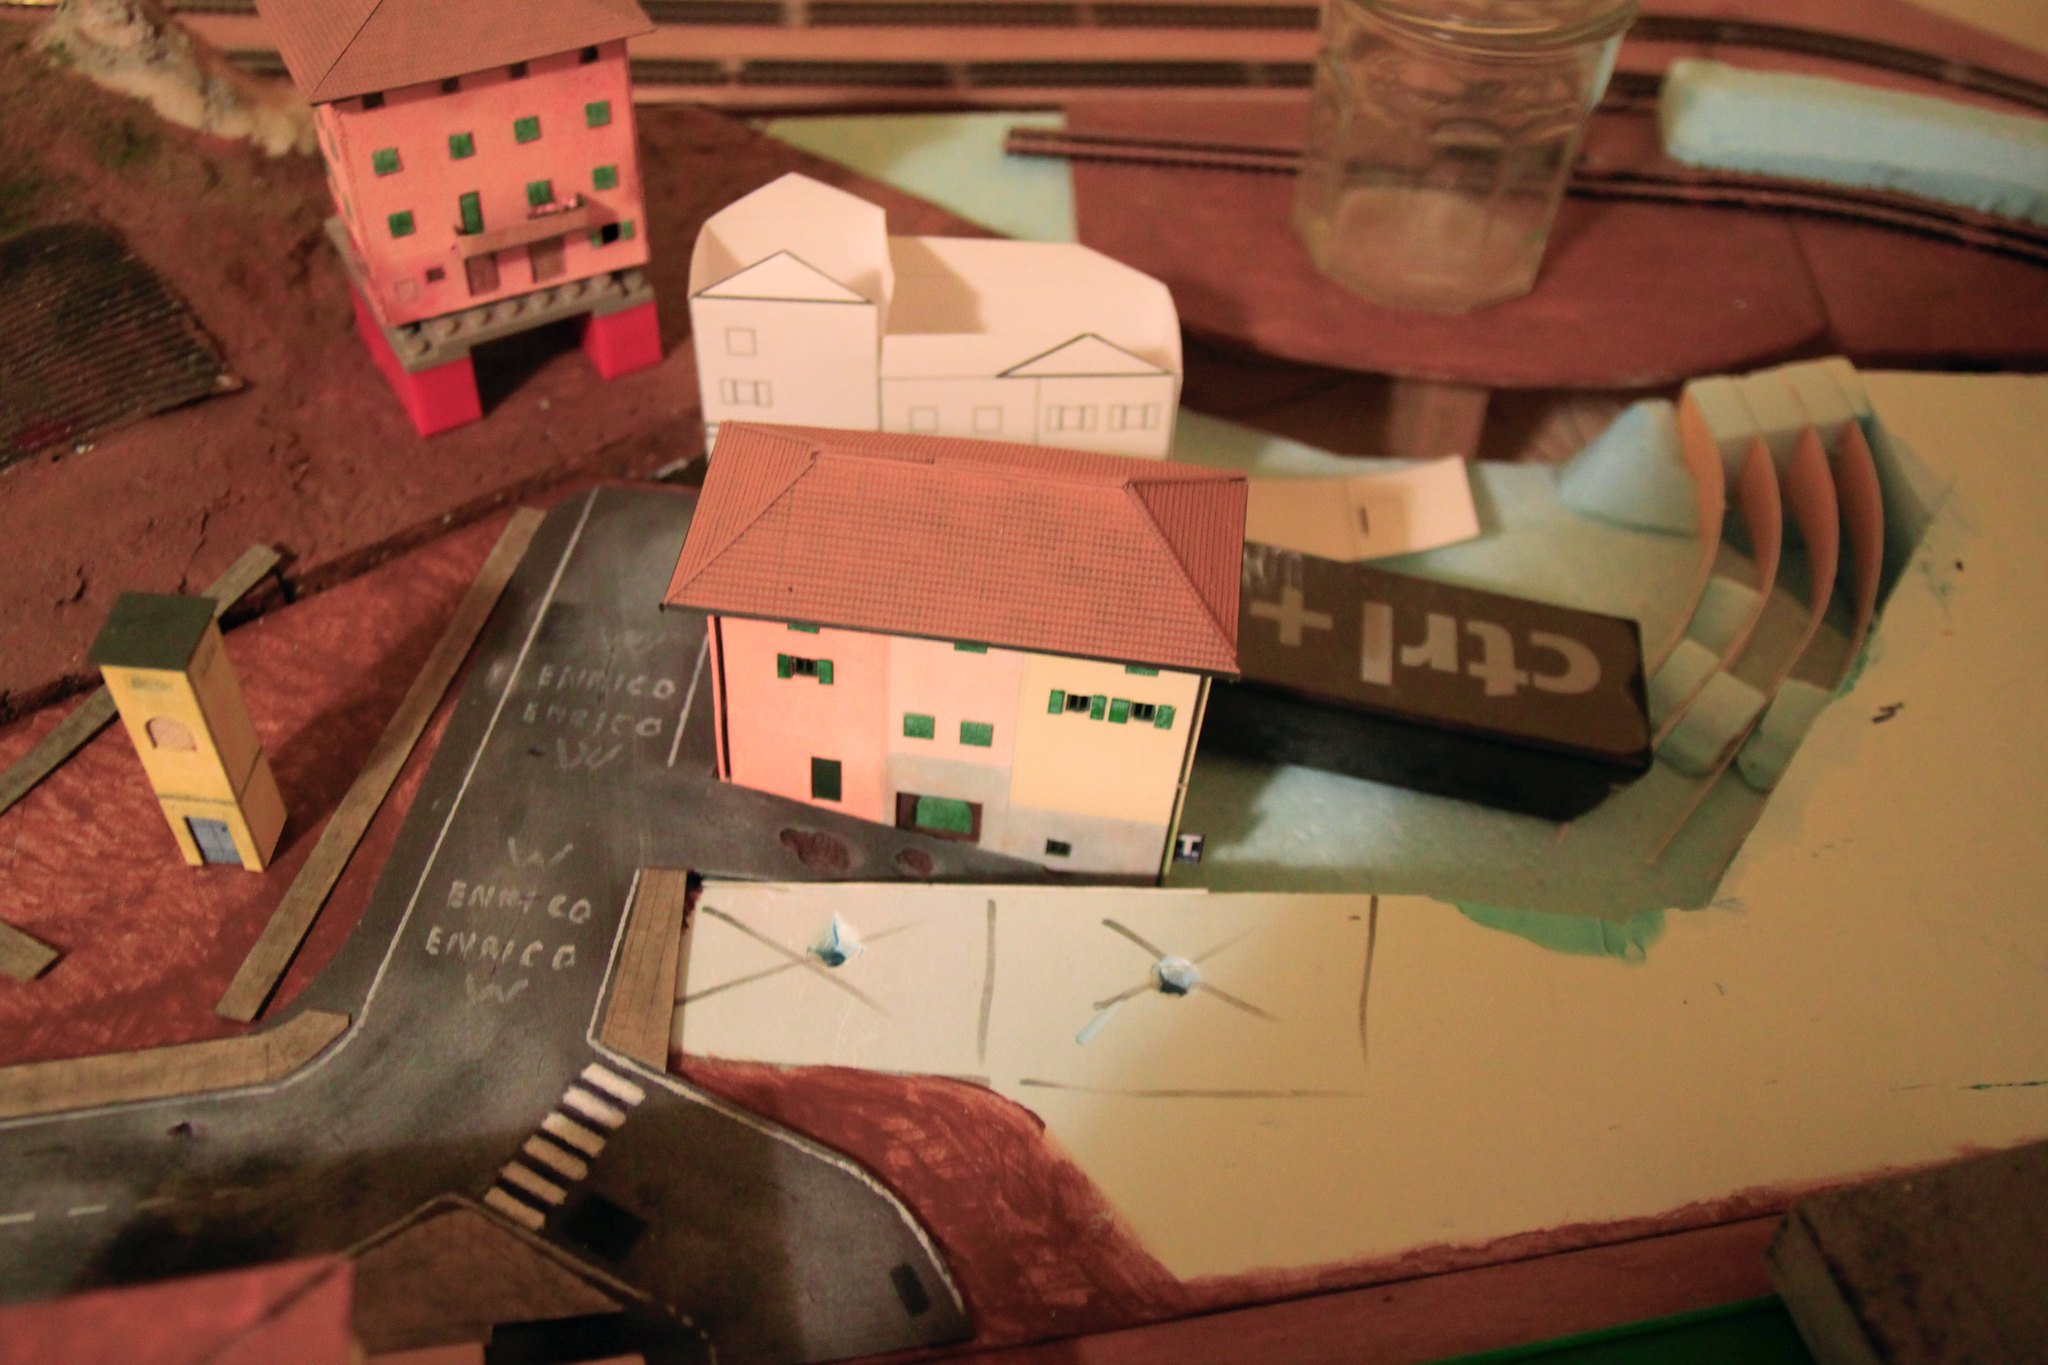
Trying it out in situ…
(for this last pic I took my old Canon D500 - unused for years - and great as the iphone is, for real detail that camera makes such a difference. Going to use that more often)
Oh yes, or I should say, si! This is the atmosphere I’m ging for. The paper mockup for the next building’s already visible behind. Andiamo!